Whether you are new to drumming or work in a studio, at some point you will have to set up a drum kit. If you are new to this, it may seem like a daunting task.
But, don’t worry, it’s easy! Here is a quick guide on how to set up a drum kit and all the components you will need.
How To Set Up A Drum Set
The Drums
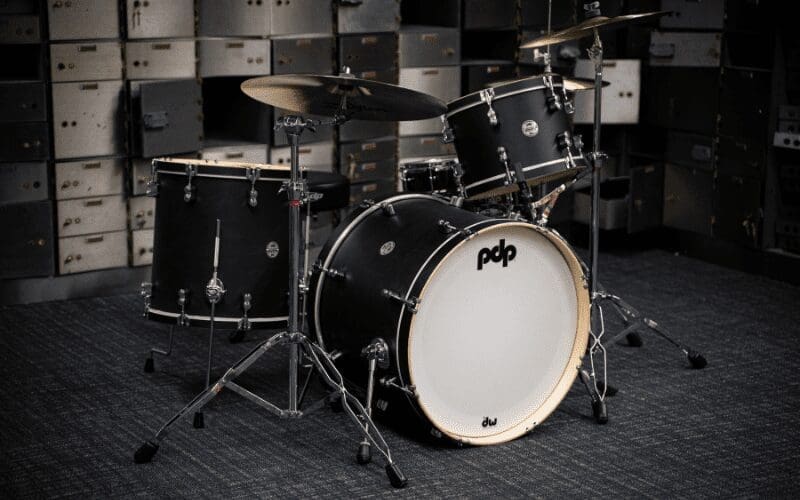
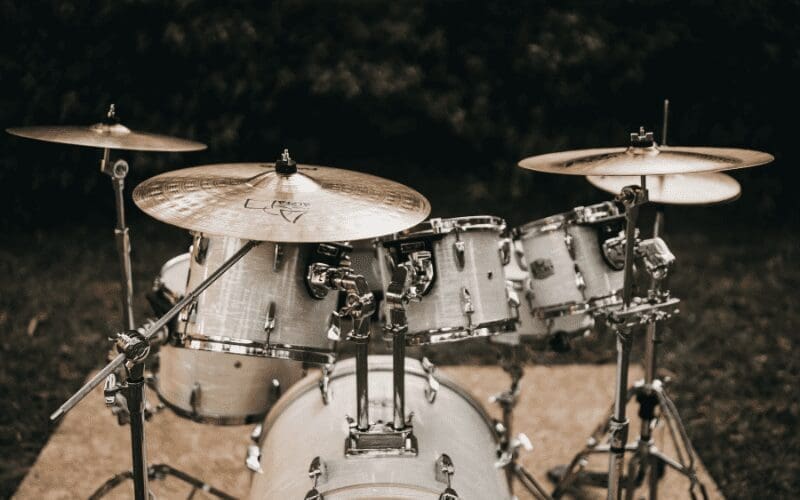
A basic drum kit consists of a bass drum, snare drum, two or three toms, three cymbals (Hi-Hat, Crash and Ride), and a set of hardware (stands and pedal).
Before you start, clear a good amount of space so that it is easy for you to set up the drum kits. You first need to tune the drums. As the drums are not assembled, they are more accessible at this stage to tune the heads. Final adjustments can be made when the whole kit is set up.
Once you are ready, start with rolling out a drum rug/carpet. You will need one of these for practicing, recording, rehearsals, and gigging. A carpet under the drum kit is essential, as the carpet stops the drums from moving when you hit them. Especially the bass drum when you use the kick pedal.
The order you set your drums up is down to your preference. But the way most drummers set their drums up, is to start with the bass drum. Place it in the middle of your drum carpet toward the front.
Then undo the spurs at each side of the drum and angle away from the bass drum towards the front until they make contact with the floor. These act as an anchor to stop the bass drum from moving forwards.
After this, attach your bass drum pedal to the hoop of the bass drum. Tighten the screw so it is firmly attached, then give it a go-to to make sure it is firmly in place and does not detach from the bass drum in use. You don’t want it falling off halfway through a gig!
The Toms
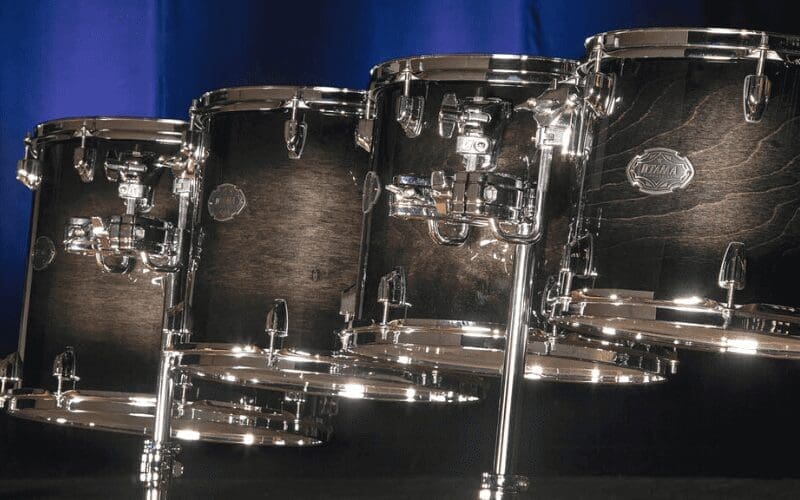
Next would be your Toms. Place the floor tom legs at the height that you feel comfortable with, you can alter it later if you change your mind.
Then, place the tom holder into the bass drum and tighten the wing nuts until stable. You can then add the two toms into the mounts, the smaller one on the left and a bigger one on the right. Once your bass drum and toms are set up, start adding your hardware around the kit.
The high hat stand should be on your left side for your left foot to operate, and the bass drum pedal is for your right foot. You can then add the snare drum stand which goes in-between your left and right foot.
Then one of the cymbal stands goes in the gap behind the snare drum stand and one goes in the gap between the mid-tom and the floor tom. But, this is not set in stone. It all depends on personal choice.
Next, add the snare drum on the snare drum stand, and tighten it underneath the stand to make the three arms trap the snare so it cannot move.
The Cymbals

Then you are onto the final stages of setting up a drum kit. Cymbals require cymbals, felts, and nuts. This is to stop the cymbals from damaging from metal-to-metal contacts and stop them from falling off the stands. For the crash and ride you will need to place one felt on the bottom, then place the cymbal on top. Then, one felt on the top and use a wing nut to tighten it.
For the high hat, you will need a hi-hat clutch. First, put the bottom high hat on the hi-hat stand. Then undo the hi-hat clutch and put through the cymbal, and tighten it back up. Then you position the hi-hat clutch on the hi-hat pedal rod. You can then adjust the distance between the two hi-hats to your preference.
Finally, the stool can be placed behind the kit. You need to make sure it is the right height and distance away from the kit, otherwise it will cause strain for the drummers body and may lead to injury.
At this point, you can sit on the stool and adjust anything you want so that you aren’t stretching to reach and it feels comfortable while playing. (Left-handed drummers will do the same above steps, just arranging the kit the opposite way around!).
Then, all you need is a pair of drumsticks and you’re ready to rock!
How To Set Up A Drum Set: The Price

Many professional drummers add extra cymbals, toms, bass drums, snares, and pedals when they set up a drum set so that they can add a greater variety of sounds. The actual drums can be made out of different types of wood such as Maple, Oak, and Mahogany. Each imparts a different sound to the kit.
The main companies for drums are Ludwig, Mapex, Sonor, Natal, DW, and Gretsch. A beginner kit could cost anything from £200-£700, a mid-range kit £700- £1500, and a professional kit £1500+.
You also have to decide which drum skinheads you want to use (Batter-side/Resonant-side). The main commercial drum skins are synthetic and come in either one or two-ply. Coated heads are mainly used for snare drums but can also be used for toms as they have a warm tone to them. Clear heads are mainly used for toms as they have a thinner tone with more attack.
This all depends on the drummer’s preference. The main companies for drum heads are Remo and Evans and the average cost for one head is around £10, going up in price depending on size and coat.
Finally, cymbals. There are many makes, sizes, and finishes of cymbals in production today. It all depends on the sound you want and also the budget you have. A standard set of cymbals consist of 14” high-hats, 16” and 18” crashes, and a 20” ride cymbal, this is ideal when you set up your drum set.
Cymbals come in different finishes as shown in the picture below. For example the A Custom series by cymbal makers Zildjian. This series of cymbals are bright sounding with a long decay. In comparison, the Kerope series is dark and rich sounding. There are many varieties to choose from. The main cymbal companies are Zildjian, Sabian, and Meinl. Cymbals range from £100-£550 upwards.
Acoustic Drum Kits vs Electric Drum Kit

Electronic kits are an alternative to acoustic drum kits. Electronic drums can be used for recording, and at home use headphones if required so you don’t annoy your neighbors. They can also be used for live performances.
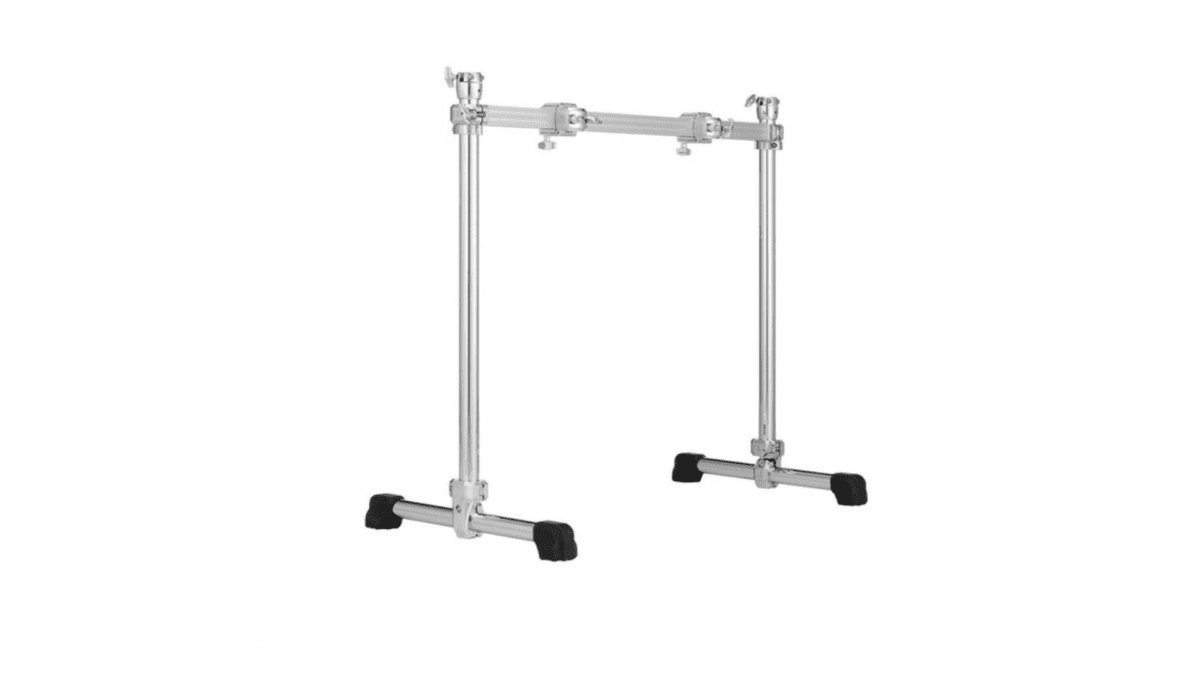
Electronic drums are mainly put on a rack and have no stands. They have two-foot pedals which you place in the same place as an acoustic kit. These kits are a lot more compact and smaller than normal drum kits. They typically have smaller pads with mesh heads on making them ideal for drummers who want something a bit quieter.
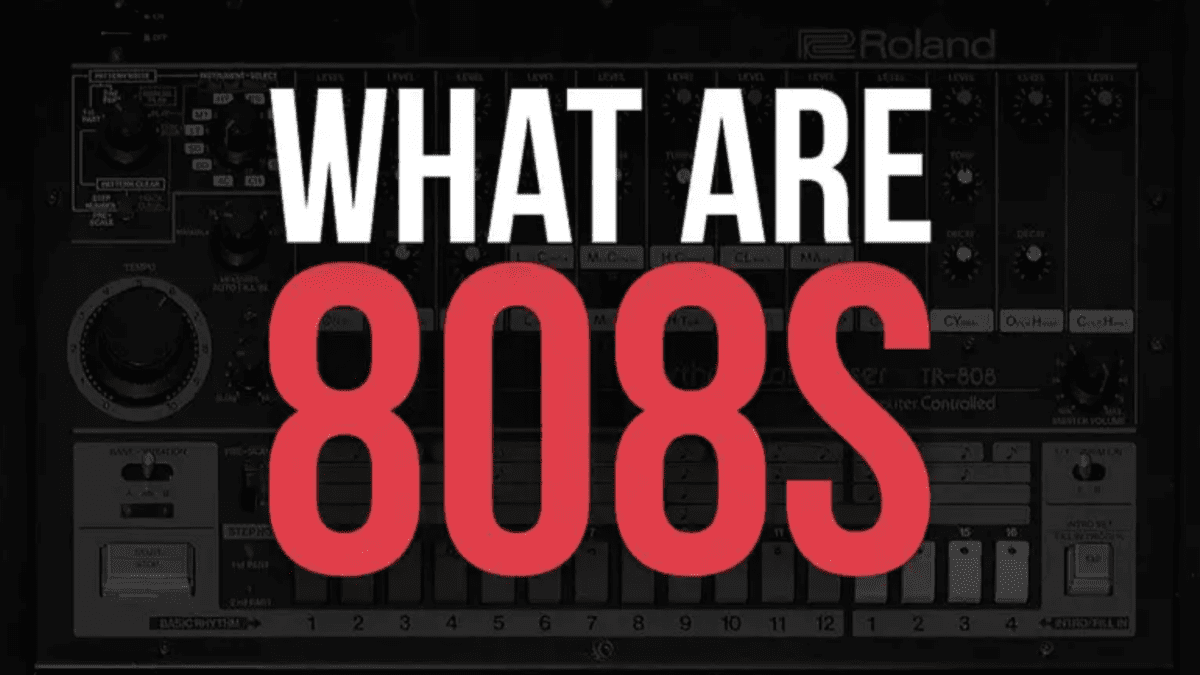
These electronic kits come with an array of different drum kit sounds in a drum sound module. A standard electronic kit comes with around 20 different kits you can use. Whereas a top-of-the-range kit will come with around 100 kits built in and the ability to tune them, have different drum shell types, cymbal types, and head types, the list is endless.
These kits are perfect for studio work as you can have any drum sound you want without having to buy lots of different kits and cymbals. Just plug it straight in and record! Some drummers mix electronic and acoustic drums to create a hybrid kit. These are mainly used by pop tour drummers who need specific samples of drum sounds.
How To Set Up A Drum Set – Our Final Thoughts

A drum kit is part of a drummer’s unique ‘sound’. Whether you are practicing at home, or at a gig, you set up your drum kit in your own way.
Once you set up a drum kit as explained in this article, you will then develop your own layout and kit preferences with time. Remember drummers spend their lives setting up and packing down drum kits! So the more you do it, the better you will be!
Now that you have learned all about how to set up a drum kit, why not check out some of our other articles such as our guide to Recording Drums, Midi Drum Loops and the Best Free Drum Kits For Download?


