Technology has changed vocal recording to levels beyond the imagination of just a few years ago, making it possible to render the most tone-deaf screecher a pitch-perfect virtuoso with the flick of a few on-screen switches and faders. But there is one aspect of vocal recording that remains stubbornly old-school and cannot be replaced by state-of-the-art hardware or software: the DIY vocal booth.
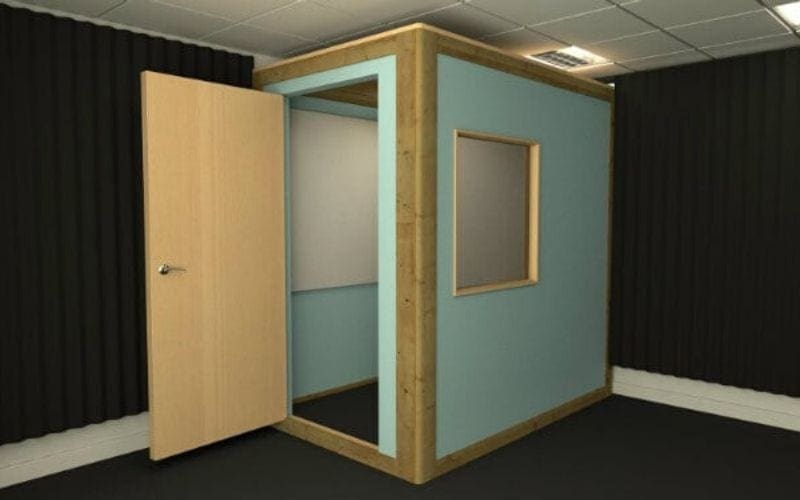
Following on from my article, Vocal Recording 101, allow me to share my thoughts on how to build a vocal booth. In this article, I will take you through the fundamentals of building a vocal booth. We will touch on a little audio theory, and look at the materials and techniques that will get you best results when building your own vocal recording booth.
A vocal booth may well be the next stage in your music production career. Having your own vocal booth is undoubtedly the best money saver when it comes to recording because sooner or later you will need more control over the recording process and some sort of booth can help.
Are you releasing new music?
Book a meeting with a Music Gateway A&R today.
Discuss release strategies, distribution, growing your fanbase, organic playlisting, press, radio and more.
What Is A Vocal Recording Booth?
In order to achieve the best vocal recording, it is necessary to have as much control over the area surrounding the microphone as possible.
Audio has a bad habit of bouncing back off surfaces and re-entering the recording, slightly altered. So, anything that can stop this from happening is great for the producer. Better still, if you can prevent any noise from outside from entering into the recording too, you will be in great shape to record that perfect vocal. This is where the vocal booth comes in.
A booth, as you know, is a designated space that encloses the occupant to better facilitate their actions, and a DIY vocal booth is no exception to this definition. Vocal booths come in different shapes, sizes, and constructs. A vocal booth aims to control what goes on around the microphone as much as possible by isolating the microphone from the outside world and ensuring that sound doesn’t bounce around and back into the microphone. Vocal booths come in roughly two types, the sealed/isolated booth and the designated, partially enclosed area.
DIY Vocal Booth Basics
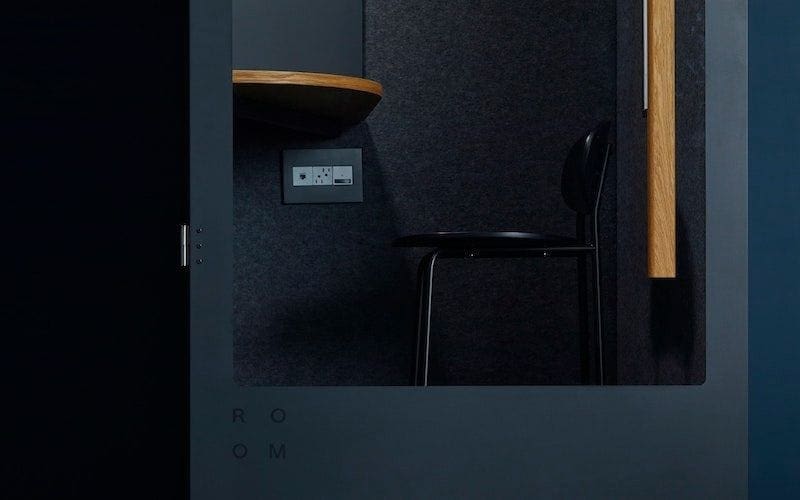
The first decision you need to make when planning your own vocal booth is what size your vocal booth will be. This is actually a very tough decision. If cost of material is your main concern, then your choice is going to be on the small side. Now, I’ve worked in very small vocal booths, and you would be amazed at how quickly the spatial restrictions start to present problems. If the deadening material is very close to the sound source, it is difficult to eliminate the resulting reflections, giving the voice a weird texture. So, try to stretch out as much as you can afford. The extra costs are not proportionate and it will pay dividends in the long run.
Vocal Booth Materials
Constructing your vocal booth, you will need to be aware of which materials to use. Therefore, we need to consider what it is in any given material that would make it good or bad if used in your vocal booth construction. Let’s assume you want to build a sealed booth that will prevent all, or most, outside interference from coming in and reduce the reverberating sound coming back to the mic. Sound is a wave of energy that compresses and decompresses the air around the source, and this fluctuating kinetic energy is what travels through the atmosphere to your ears. This is demonstrated by the fact that sound cannot travel through a vacuum.
Because sound is an energy, the material you use in your vocal isolation booth construction should be high in density. The greater the mass, the greater the sound stopping quality. So your door should be made of a particularly dense wood, preferably solid. If you ever open a vocal booth door in a high-end recording studio, it feels like you’re opening the vault door at Fort Knox. Most top studios have two doors on their vocal recording booth for good measure. This isn’t practical in a budget vocal booth.
Material Examples
The denser the material, the better its sound-proofing quality. Let’s look at the basic materials you will use:
- Timber – good quality pine or heavier
- Acoustic plasterboard
- Rockwool
- Acoustic mastic
- Solid wood door
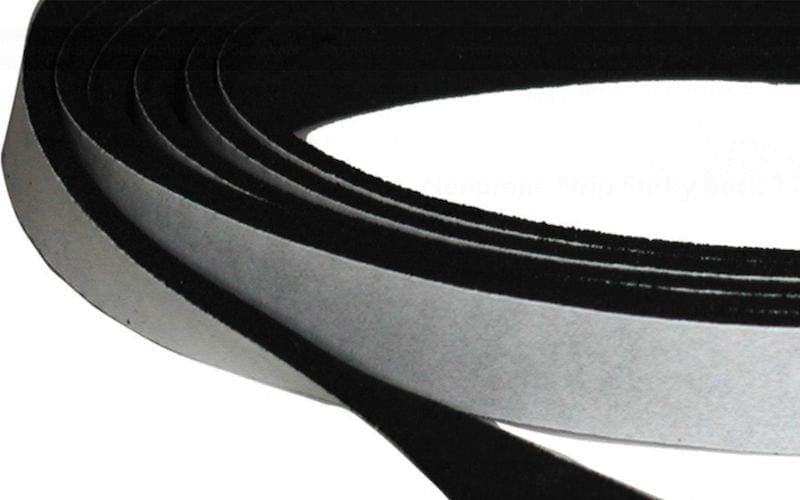
- Neoprene door seal
- Acoustic tiles
I won’t go into too much detail about screws, glue, fixings, wiring, etc as this article is more of a guide on the principles of how to build a DIY vocal booth rather than a hands-on construction manual.
Gaps
So, in your sealed DIY vocal booth, the first consideration is gaps. At home, when you hear a sound from the other side of your door, a great deal of the noise is coming under the door or through the edge between the door and the frame. You can only tell if you were to press your ear up against it, though. This is because once the noise is through the gap, it radiates out, and doesn’t seem to be coming from any exact spot. So, your vocal booth door will need to fit very well into the frame. You will then need to place an acoustic seal around the frame. Neoprene acoustic foam strips are ideal and inexpensive.
Now, onto the construction itself!
Constructing The Frame
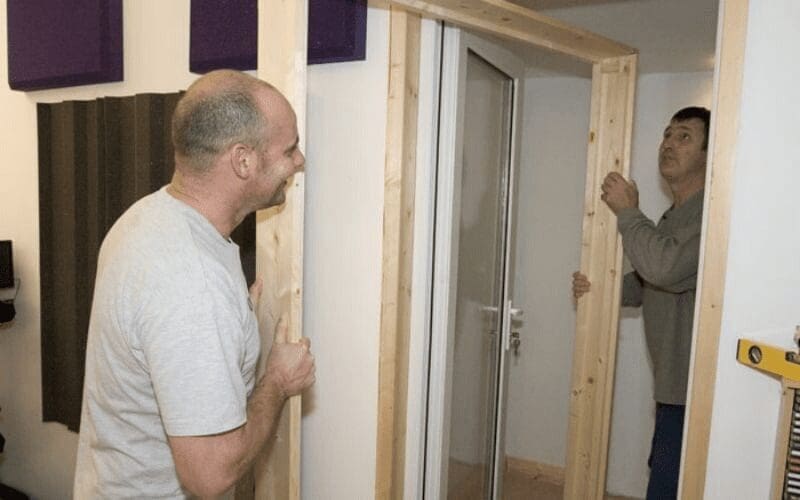
First, you will need to construct a frame. It would be very helpful to build your vocal booth in the corner of a room. It would be even more helpful if the walls of this room were of solid build, i.e. brick, concrete, etc. So, let’s assume you are in a position to build a vocal booth in a corner. This gives the advantage of having two surfaces on which you can start your frame.
At this stage, it’s important to point out that if you have no construction experience or building skills, it’s best to get help from someone who does, at least with the construction of the frame. It is easy to misjudge joint strengths, angles, and reinforcement requirements and end up with an out-of-shape construction or worse, have it collapse.
Referring back to materials, choose timber that is fairly solid. If it is pine, try to find better quality pine, you can usually tell by the weight (mass = energy absorption). Also, look down the length of the timber to check it’s straight. You will need to choose the frame timber dimensions to match the thickness of your rock wool filler. Ideally, your timber will be 4 by 2, and your rockwool will be 100mm thick. Standard rockwool is highly efficient at absorbing sound, but you can get specially formulated acoustic rockwool which is even better.
The Method / Construction Of The Frame
So, the timber of your frame that goes against the wall should be edge-on to the wall. This means long screws, or other means of securing it to the wall. This will give you a depth of 100mm, which your rockwool will fit neatly into. When your frame is complete, it is time to attach the plasterboard. It is important to use acoustic plasterboard, just plain plasterboard has qualities that would cause you headaches when recording. Acoustic plasterboard has a different density and texture, and is more conducive with sound absorption.
Line the edge of your plasterboard with acoustic mastic to ensure an air-tight fit. Secure your board to the outside of the two freestanding wall frames, then insert your Rockwall. Again, line the edge of the board with mastic before fixing it to the frame. Even though the two corner walls are solid, line them with rockwool too, and cover them with acoustic plasterboard.
Constructing The Roof
This leaves you one more surface to deal with: the roof of your vocal booth. What you do with this also depends on the construction of the room. If your ceiling is solid and not too high, you could build your frame all the way up, and do the same as the frame walls. Remember to use half-thickness rockwool here, as your frame will be half the depth (in this case, 50mm). If you have a high or suspended ceiling, top and line your vocal booth in the same way as the walls.
Sound is like water – even with tiny gaps, it will seep in. So, be sure to seal every joint with acoustic mastic. This goes for the hole you will make to feed the cables in. It is better to drill a hole into the frame rather than the wall. Also, wait until you have everything else in place before you seal the hole. I have in the past fed cables into the booth and sealed it before testing everything. Then, having decided the desk, mic and break out box needed to move, I had to cut the sealant out to feed more cable in.
I use 8-core, good-quality cable. I do this even with only one microphone in the vocal booth, as experience has shown me to plan ahead. You will be surprised at what you will use the booth for. It may even be multiple instruments, singers, etc, and will be very grateful to have ample cabling. It is perfectly feasible to add a window to your DIY vocal booth. But it does reduce the efficiency of the booth unless you use double or even treble glass and set it at an angle to deflect audio away from the source.
Lining The Interior
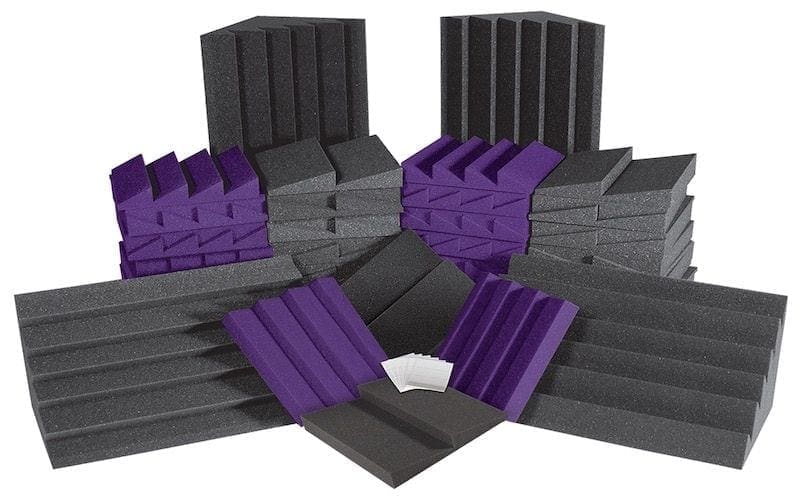
So far we have looked at soundproofing and sound isolation. The good news is that the construction that lends itself to good sound isolation also contributes to the absorptive qualities needed to treat what sound is within the walls of the vocal booth, but not completely. Lining the interior of your vocal booth with acoustic foam will solve any sound refractions created by the source. But acoustic foam, like everything else, comes in different types. Choose well, you are looking for a foam that isn’t too lightweight.
The most common sound source you will be recording in your vocal booth will be the human voice. The human voice covers a wide spectrum and can get way down into bass territory. This will need controlling inside your vocal booth. Lightweight acoustic tiles are generally designed to absorb or deflect higher frequencies. It is easy for a vocalist with a deep, rounded voice to create resonant tones with a particularly deep delivery. This can create resonance points (when a particular material has a natural frequency that it will vibrate to) in all but the densest material. If it is subject to this frequency, it will vibrate in sympathy to the source sound, with irritating consequences.
Heavier acoustic tiles are proficient at capturing a wider range of frequencies. If your budget will stretch to it, fit bass traps in each corner of the vocal booth. Bass traps do exactly as it sounds – trap bass sounds. We place them in the corner because that is where lower frequencies build up and bounce back. When fitting bass traps, place them 5 or 8 cm away from the wall.
How About A Portable Vocal Booth?

Up until now, I have focused on a place where you can build a permanent vocal isolation booth. Many producers may not have the budget or the space to do this.
There are portable vocal booth options, and the shield pictured above is an example. For less than £100, you can reduce the ambient sound around your microphone. The beauty is that you can also take it anywhere. But, it is only ever going to be a step toward achieving that perfect vocal take. Aside from the lack of isolation, you do have the proximity of the shield to the microphone which limits your options.
If you can’t allocate a space in your home permanently, it is still worth considering creating an area that will help to isolate the space around the vocal microphone. If you can still construct panels in the style of the walls of our isolation vocal booth, i.e. timber and rockwool, you could place feet on them and use them as a portable vocal booth. Although you won’t have complete isolation, you will be able to control some ambient sound around the microphone, and experimenting can deliver impressive results. Portable panels will also reduce external noises, low frequencies in particular, but not as well as a sealed vocal isolation booth.
Conclusion
So, as you see, this is more of a guide to the concept of vocal booth building rather than an in depth, technical instruction. Once you have the basic concepts under your belt – acoustic principles, materials etc, you are in a much better position to create your own vocal booth in any situation. Keep experimenting and finding what works best for your recordings using these tips as a guide. Happy recording!
Now, you can hopefully get working on your own DIY vocal booth, and we can’t wait to hear the amazing vocals and songs that you will be recording!


