Vocal recording is regarded by some as a dark science and by others as just a simple matter of placing a microphone in front of the vocalist and pressing the record button. The truth, of course, lies somewhere between the two. In this article, I’d like to take you through some of the principle procedures and functions that will introduce you to the basics of vocal recording to help make it an easier and more satisfying task.
We will look at beginner’s microphone choices, what hardware suits your needs, address software options, a few fundamental techniques and finish off with a brief look at what happens once you have completed your vocal recording session.
Are you releasing new music?
Book a meeting with a Music Gateway A&R today.
Discuss release strategies, distribution, growing your fanbase, organic playlisting, press, radio and more.
What Is Vocal Recording?
There are many different forms and types of vocal recording:
Sports Commentating, Podcasting, Film Narration, Advertisement Voice-over, Automated Dialogue Replacement (ADR), Audio Book, Radio Play and, of course, where vocal recording is probably most commonly employed – singing. I felt it was important to list the many wide and varied applications of vocal recording because each one has its own unique discipline and technique and recording singers is no exception.
Vocal Recording In Music
Vocal recording, in essence, is capturing the voice of the artist in the most effective and efficient way so that the play-back will be as true sounding to the original performance as possible. For most music producers, vocal recording is probably the most challenging part of the music production process.
But don’t despair, like many other creative endeavours, vocal recording is an acquired skill. In other words, the more you do it, the better you become at doing it, hopefully making use of as much advice and information as you can get your hands on along the way.
Starting Your Vocal Recording Session
Ideally, your vocal recordings would take place inside a $20,000 fully treated studio vocal room. In reality, it will probably take place in your living room or another room in your house. There are good reasons why professional studios spend so much on sound treatment, it gives the producer much more control of the session and what is being recorded. So it’s worth considering what you can do to emulate this as much as possible.
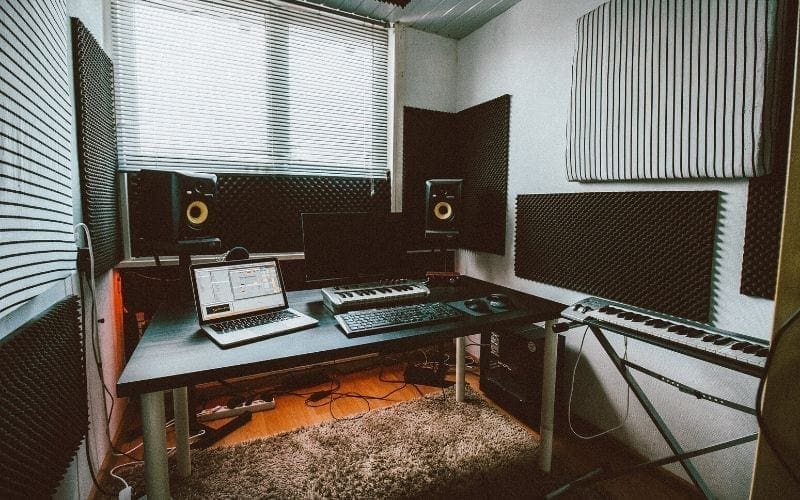
Sound treatment is generally divided into two categories – 1. Sealing: preventing noises that originate outside the room from entering and infiltrating the vocal recording and 2. Deadening: stopping the sound generated by the vocal recording session bouncing back from any surface into the microphone as reverberant sound.
Outside Noise
Your first step into vocal recording is to choose a space that is affected as little as possible by outside noise. Can you hear the traffic outside? Usually, the back of the house is quieter than the front. Or perhaps you have a room that has new double glazed windows that block outside noises well.
Dampening The Room
Once you’ve chosen a suitable room, stand in the middle and clap your hands loudly. Can you hear any echo or reverberation of the clap? The extent of this reverberant noise will determine how much work you need to do to dampen the room. Ideally, the walls in your room will be good solid brickwork. Generally, the denser the material in the wall, the more acoustic energy the wall will absorb.
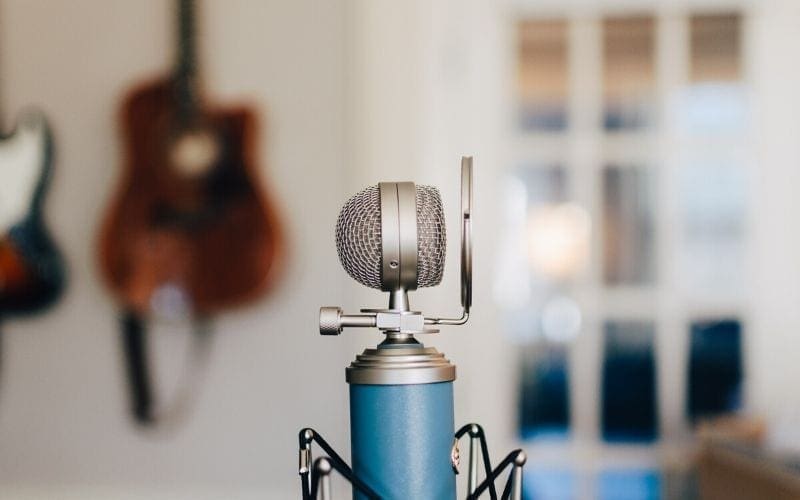
Temporary, or stud, walls will present you with the biggest challenge when trying to deaden a room, so try to avoid a room that has too many. Hanging duvets and blankets can go a long way to deadening your room, the heavier they are, the better. Remember, acoustic tiles come in various forms but their key task is to dissipate sound, so that it is converted into another energy (heat) and so doesn’t get back to the microphone. So, if you have outside noise, acoustic tiles will do little to help.
Corners
Also, avoid placing your microphone close to the corners of the room. If you have a budget for acoustic foam treatment, it’s worth investing a proportion of it in some bass traps – triangular prism-shaped heavy foam blocks that reduce the build-up of lower frequencies in room corners. Inevitably, you will end up compromising on many of these factors, but it’s worth spending a while working through this to avoid unexpected problems further on in your vocal recording.
Learn more about how to soundproof a room ready for vocal recording in this guide to soundproofing. Alternatively, take a look at our article on creating a DIY vocal booth.
What Do You Need In Order To Start A Vocal Recording?
The first point of entry in a vocal recording session is the microphone.
There are many different microphones, all designed to best perform a particular task, although generally, they are split into two categories.
Dynamic Mics
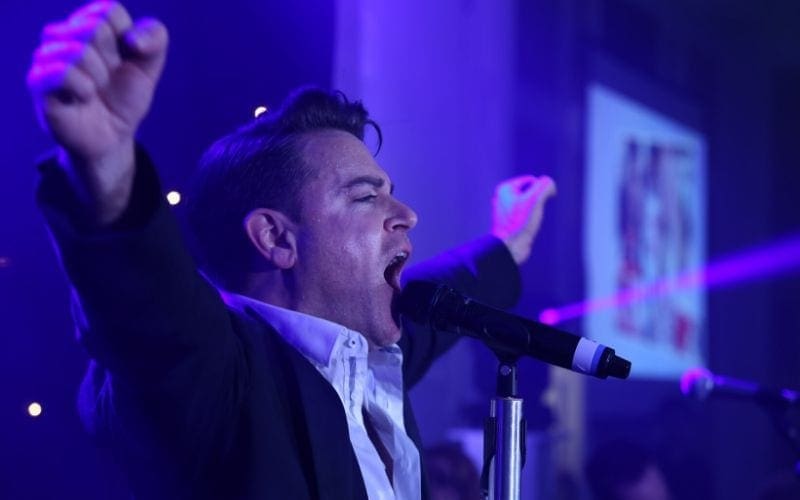
We usually see dynamic vocal microphones on stage. They generate a signal through a coil attached to the round membrane you can see through the grill. Their construction is robust but it means they don’t pick up such a wide range of frequencies and they are not so sensitive. You often see live artists with their mouth up against the grill of the microphone.
The most common is the Shure SM58. It is true that great studio albums have been made where the vocal recording employed a dynamic mic, but they are quite rare.
Condenser (Capacitor) Mics.
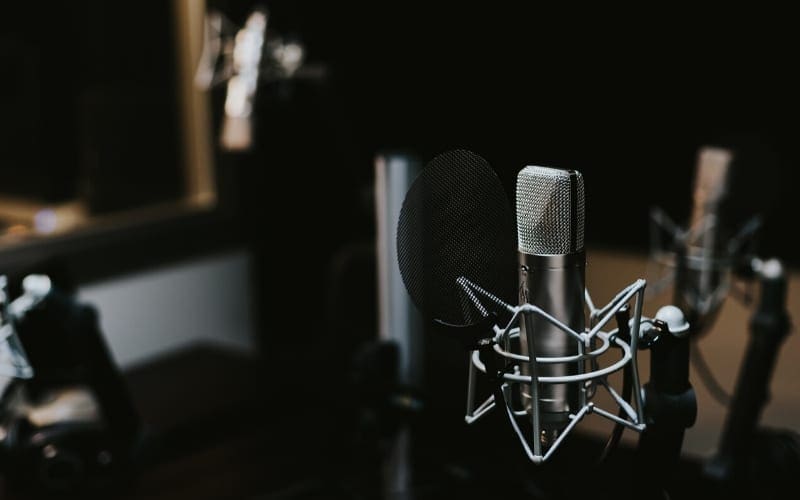
By far the more popular studio vocal recording microphone is the Condenser (or Capacitor) mic. The condenser mic is very sensitive and is capable of picking up a wide range of frequencies. It is this quality that makes condenser mic a popular vocal recording microphone.

Prices for a condenser vocal recording microphone has traditionally been prohibitively high – a Neumann U87, for instance, could set you back as much as $2,000 – but lately there have been quite a few microphones introduced that perform surprisingly well for the price. Røde, SE and AudioTechnica to name but three, all produce respectable large-diaphragm condenser mics at very reasonable prices – $150 – $200.
USB Mics
Try to avoid the unbranded bargain basement USB mics on offer, you’ll soon grow out of them. Speaking of USB, though, there are now some quite good vocal recording condenser mics that plug directly into your computer USB socket, thus negating the need for an audio interface.
This does make life a lot simpler for the start-up producer. I have no strong argument against some of these mics except to say that they will present limitations should you choose to expand your setup in the future; if you intended to acquire an interface and use more than one microphone simultaneously, for example.
If you choose a traditional XLR type vocal recording microphone, you’ll need an audio interface.
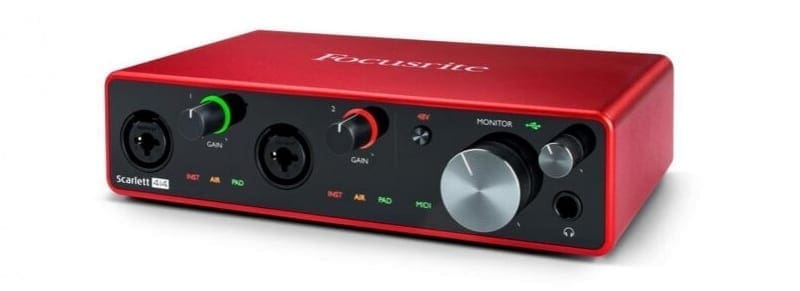
The term comes from the fact that the device literally interfaces between an analogue signal from the microphone and converts it into a digital signal that the computer will understand. Again, there are many interfaces available to home studio producers and they vary in price immensely.
But the good news is, thanks to advancements in technology, if you stick with a major brand such as Focusrite, MOTU, Behringer, the audio quality of even the lower-priced interfaces – $150 perhaps – is commensurate to those in top studios of just a few years ago.
What Software Should I Use?
There are just as many choices of vocal recording software as there are audio interfaces and microphones. However, if your budget is limited, Audacity is a very useful, and more importantly, free Digital Audio Workstation (DAW). All DAWs do more or less the same thing: they look for the digital audio signal from the interface and allocate it to a track on a timeline, record it and play it back. There you can add sound processing to it and mix it down with music and/or other audio.
Once you’ve understood the working of one DAW, you can apply that understanding to almost all of them. Sure, buttons are in different places and menus vary in functionality, but the principal remains the same. So, if you start by using a freeware DAW like Audacity, it doesn’t really represent much wasted time should you decide to upgrade later to more sophisticated recording software such as Apple LogicX, Avid ProTools, Ableton, Reaper, and more.
The Basics Of Vocal Recording.
Before we look at how to record vocals, check the settings of your DAW.
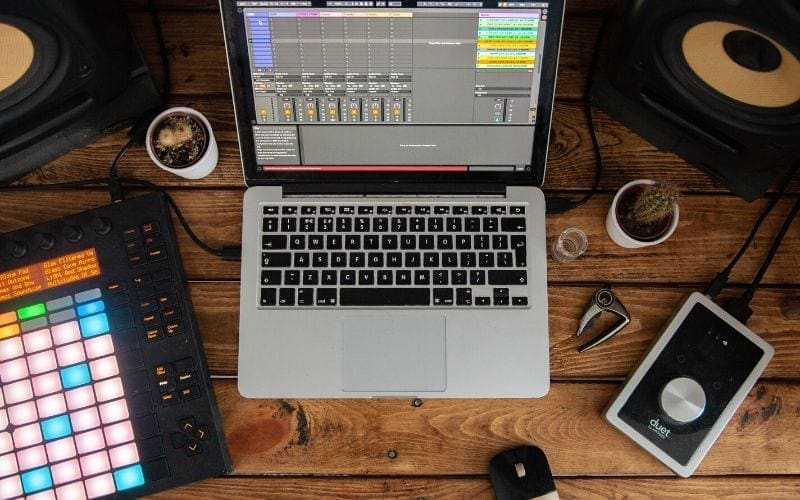
You may have to refer to the manual for this. It’s best to set your audio sample rate to 48khz and the bit rate to 24. This is pretty standard these days. The only time these settings may change is if you have imported a session that has been created using different settings or if you are asked to by your client for specific specifications.
Tape Vs. Digital
In the “good old days” of tape, recording engineers favoured quite high input levels and there are some engineers who still do, they adjust the input level so that the loudest parts hover just under zero on the metre and rely on a hardware compressor to control the peaks so that they don’t overload. This was to reduce as much as possible any noise inherent in recording to tape – known as “tape hiss”. It is no longer necessary.
Digital vocal recording has a much lower noise floor and there is negligible difference in quality across quite a wide dynamic range. My vocal recording sessions usually peak at around -10db. This gives me 10db of safety margin in case a vocalist decides to take me by surprise and blast out a super loud note and it’s an easy process to raise the gain of the recorded material.
‘Good In, Good Out’
When recording any audio, my favourite mantra is “Good in, good out.” Your goal is to capture the sound as true to the original as possible so that you are in a better position and have more options whatever you do after your session.
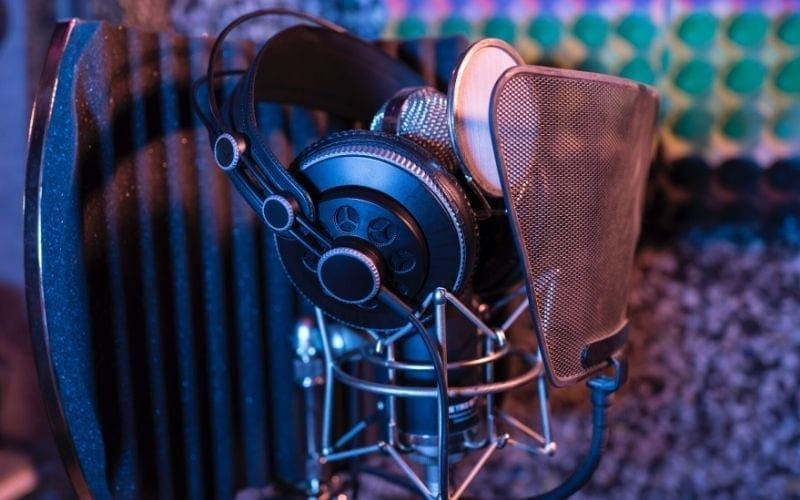
For example, with some simple DSP (Digital Sound Processing), it would be easy to make a crisp, clean vocal recording sound like the session was conducted in a bathroom. However, you would struggle to make a session recorded in a bathroom sound like a crisp, clean vocal recording. Don’t settle for something you are not entirely happy with, assuming it can be sorted later when you mix down.
Vocal recording audio can go through many different processes after recording. Each one acts on, not only the pure vocal sound you intended to capture, but also changing and enhancing the artefacts that also got into the vocal recording unintentionally. (i.e. reverberant sounds and outside noise.)
So, for example, a tiny bit of the vocal mid-range can be heard reflecting off the ceiling but you decide it isn’t that big a deal. Just wait until you’ve compressed and effected the vocal recording (raising the noise floor). Now suddenly you’ll notice it more and more until eventually, every time you audition it, you won’t hear anything else.
Directional
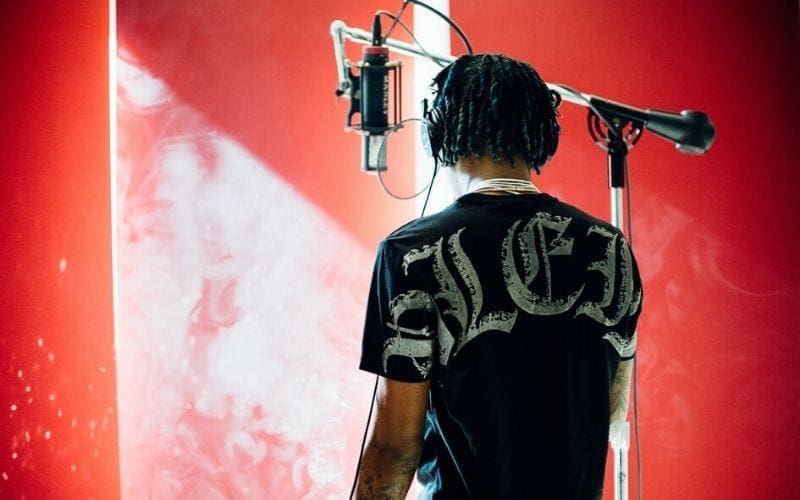
Condenser microphones are “directional”. This means that they pick up the strongest, purest sound from directly in front of them.
If your singer moves around too much, particularly from side to side, it will show up in the recording. You may think that this manifests as just a variation in level, it doesn’t; the texture of the recording will change slightly too. And again, this variation will become more apparent when the singer has flown back to Alaska and you’re mixing down your takes.
Proximity Effect
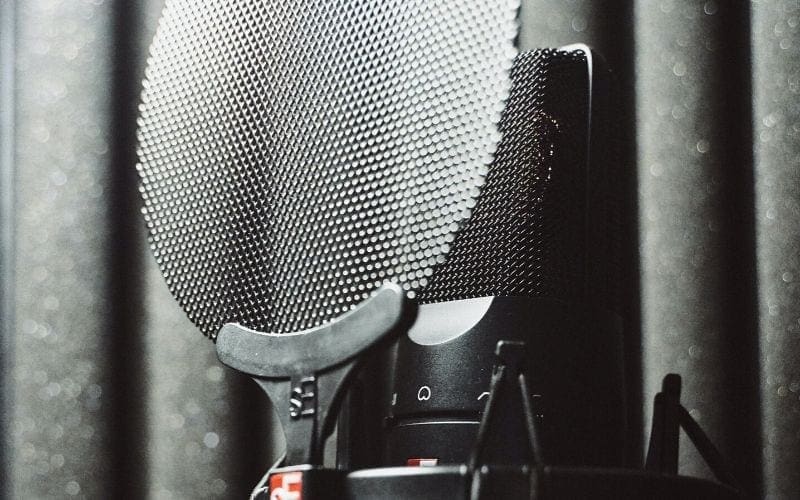
Another important consideration is the distance from the mic. Changing the distance between the source and the mic changes the texture of the vocal recording. The greater the distance, the lighter and less “rounded” the vocal recording is. This is known as “Proximity effect”. This states that the closer the source to the microphone, the greater the level of the lower frequencies are recorded.
Proximity effect can be used as a technique. For instance, if you wish to create a warm, intimate vocal sound. Beware though, too close and it can sound too “boomy” or “boxy”. Also, the sensitivity of the microphone does it no favours in this respect. This is because if you are recording a singer close to the microphone, you run the risk of recording unwanted popping sounds created when the vocalist pronounces Ps or Ts. These are known as “plosives” although we often refer to it as “popping”. Placing a pop shield a few inches in front of the microphone can help to reduce this. However, it’s best not to solely rely on it.
Mic Surroundings
The mic surroundings play a big part in determining your options too. If you have managed to completely deaden the room, you have more flexibility in how far from the microphone your source can be.
It might be, however, that you were unable to eliminate all reflections in the room. In this case, your best approach is to move the source as close to the microphone as possible.
I have, on occasion, managed to conduct a vocal recording in quite noisy and reverberant spaces. You can do this by placing the vocalist much closer than I would normally be comfortable with. You then have to subsequently deal with the proximity effect and plosives with EQ and highly focused editing. I’ll cover mixing in the next section.
How Do You Know If Your Vocal Recording Is Good?
This is a question I am asked a great deal. There are only two precision instruments that can truly tell you if your vocal recording is good or bad… Your ears! I liken audio recording to drinking wine; you can spend years drinking $1.99 Liebfraumilch, but once you discover and start to appreciate the finer nuances of a vintage St Emilion, you’ll find it very hard to go back. It is one of the greatest pleasures of my job to hear a good voice well recorded; still gives me goosebumps.
When You Have Finished Your Vocal Recording Session
Are you sending the vocal recordings on to another producer or mixing yourself? If you are looking, check out our tips on finding a great producer. In these days of file transfer and cloud collaboration, vocal recordings are often performed in a separate place to the rest of the music; sometimes even in a different country.

I once performed a voice-over session for an agency in San Francisco (I was in London). I edited the audio and sent it over via Wetransfer. The agency sent it to their client for approval and the client complained it was “too breathless”.
Admittedly, this was spoken voice as opposed to singing, but the issue applies to both. The client was used to hearing submissions from artists with home recording set-ups. Voice artists seldom have advanced audio engineering skills and the client was clearly used to hearing unedited vocal recordings; warts ‘n all.
When I explained this to the agency they submitted the recording to the client again. However, this time, with a music bed just the way it would sound in their published video. The client was satisfied and the agency learnt a good lesson: never expect the end-user to use their imagination.
Unwanted Noises
When you have finished your vocal recording, it is very tempting to assume that the prominent part of the audio – the voice – will mask every breath, mouth click, pop, rustle etc., particularly when set against the music. Whether you are sending your files on or mixing them yourself, this will almost always be a mistake. It doesn’t take long to audition your vocal recording and take out any unwanted noises that occur between vocal deliveries.

You can also add a “roll-off”. This is a simple EQ technique that literally rolls off the lower frequencies of the audio. This reduces a great deal of noise with it. This also helps to set the vocal into the mix, as lower frequencies, although not noticeable to the human ear, deliver more energy than high frequencies. The effect is that of masking other sounds rendering them harder to place. So, a 45-degree roll-off back from around 80hz will help. My DAW is pre-set with this.
Overusing DSP
There is a temptation, particularly when you have just purchased a new plug-in, to overuse Digital Sound Processing (DSP). What sounds great during a mixdown session at 80db sounds very different on headphones or on a small music device. There are too many forms of audio effects to go into detail in this article. Very quickly though, you’ve got time-based such as reverb, delay, chorus. You’ve also got dynamic such as compression, limiting, gate. I do have a general rule of thumb for time-based effects: apply it til it sounds amazing and then reduce the effect by half.
Now You Know The Basics Of Vocal Recording!
is one of those disciplines where every day you’ll find conflicting examples of what is good practice. You will undoubtedly find tips for recording vocals that contradict elements of this article. But remember one thing, you have to know the rules to be in a position to break them. There are no real short-cuts to the acquisition of knowledge.
Vocal recording is a job, a hobby, a leisure pursuit, a discipline and many other things. At times it will bring you great pleasure and at others you will be pulling your hair out. But if you learn something every time you do, it will soon become a passion.
If you’re looking for someone to collaborate with then make sure to check out our global collaboration marketplace! If you’ve got tracks ready to go, make sure to amplify them through sync licensing and music promotion. You can also submit them to tastemakers. Get all this and more via Мusic Gateway. Sign up now for a free 14-day trial – no strings attached.


