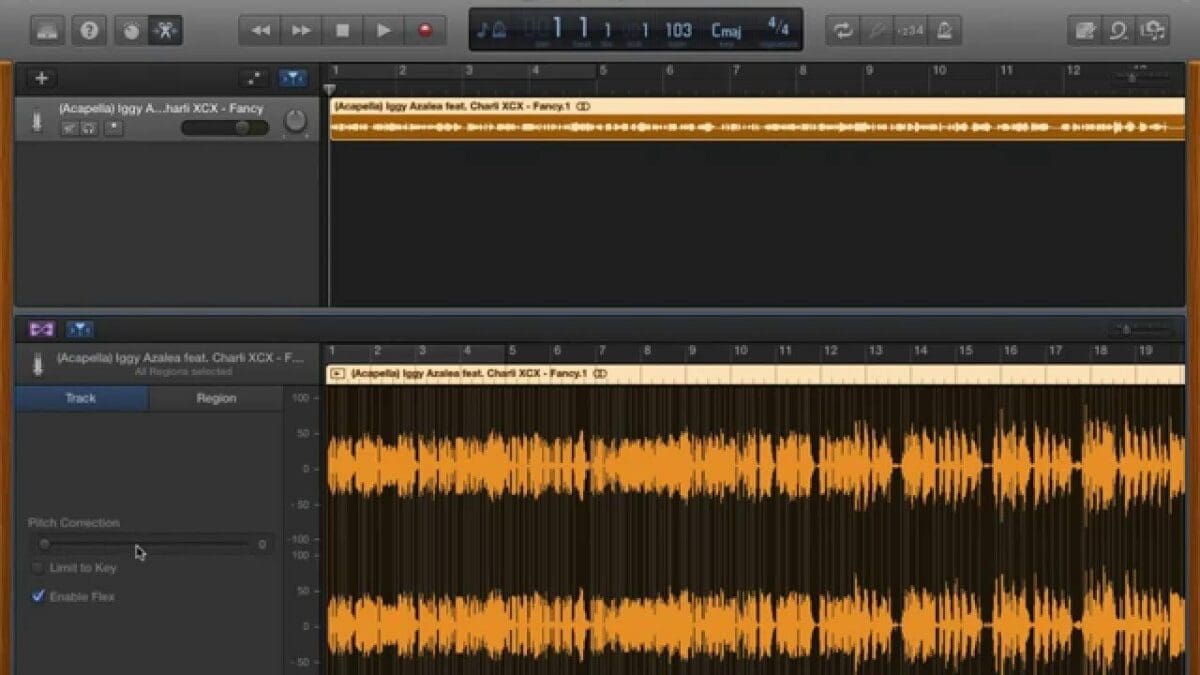
In the world of music production, vocal presets are an invaluable tool for creating dynamic and professional-sounding tracks. Whether you’re a beginner or a seasoned pro, having access to a library of vocal presets can make the process of recording and mixing vocals easier and more efficient. In this article, we’ll take a look at how to use vocal presets in Garageband, the popular music production software from Apple. We’ll discuss how to find and install vocal presets, how to create your own vocal presets and how to make the most of these powerful tools. So, let’s get started.
What is Garageband?
GarageBand is a music creation software application developed by Apple for use on Mac and iOS devices. It is part of the iLife suite of applications, which includes iMovie and iPhoto. GarageBand allows users to create and mix music tracks, record their own instruments and vocals and create podcasts. It also includes a wide range of virtual instruments and sound effects.
What are vocal presets?
Vocal presets are pre-programmed settings for vocal processors. They are designed to provide a professional sound for vocals and can be used to enhance the clarity, presence and tone of a vocal performance. Common vocal processors include compressors, limiters, equalizers and pitch shifters.
How to use vocal presets in Garageband:
- Launch GarageBand and open a new project.
- Select the Software Instrument track and choose the vocal preset you want to use.
- Use the piano roll editor to create the vocal melody.
- Adjust the vocal preset settings to customize the sound.
- Record your vocal performance.
- Add effects to the vocal track to enhance the sound.
- Mix and master the track.
How to create your own vocal presets:
- Open Garageband and create a new project.
- Select the vocal track and select the ‘No Effects’ option from the drop-down menu.
- Select the ‘EQ’ tab and adjust the frequency settings to your liking.
- Select the ‘Compressor’ tab and adjust the attack and release settings to your liking.
- Select the ‘Reverb’ tab and adjust the wet/dry mix and decay time settings to your liking.
- Select the ‘Delay’ tab and adjust the delay time and feedback settings to your liking.
- Select the ‘Limiter’ tab and adjust the threshold and release settings to your liking.
- Select the ‘Chorus’ tab and adjust the depth and rate settings to your liking.
- Select the ‘Flanger’ tab and adjust the depth and rate settings to your liking.
- Select the ‘Phaser’ tab and adjust the depth and rate settings to your liking.
- Once you are satisfied with the sound, save the preset by selecting the ‘Save As’ option from the drop-down menu
- Give the preset a name and save it.
- You can now use this preset for any vocal track in Garageband.
Summary
Overall, using vocal presets in Garageband can be a great way to get started quickly and efficiently when creating vocal tracks.
Click here to buy vocal presets for Garageband.


